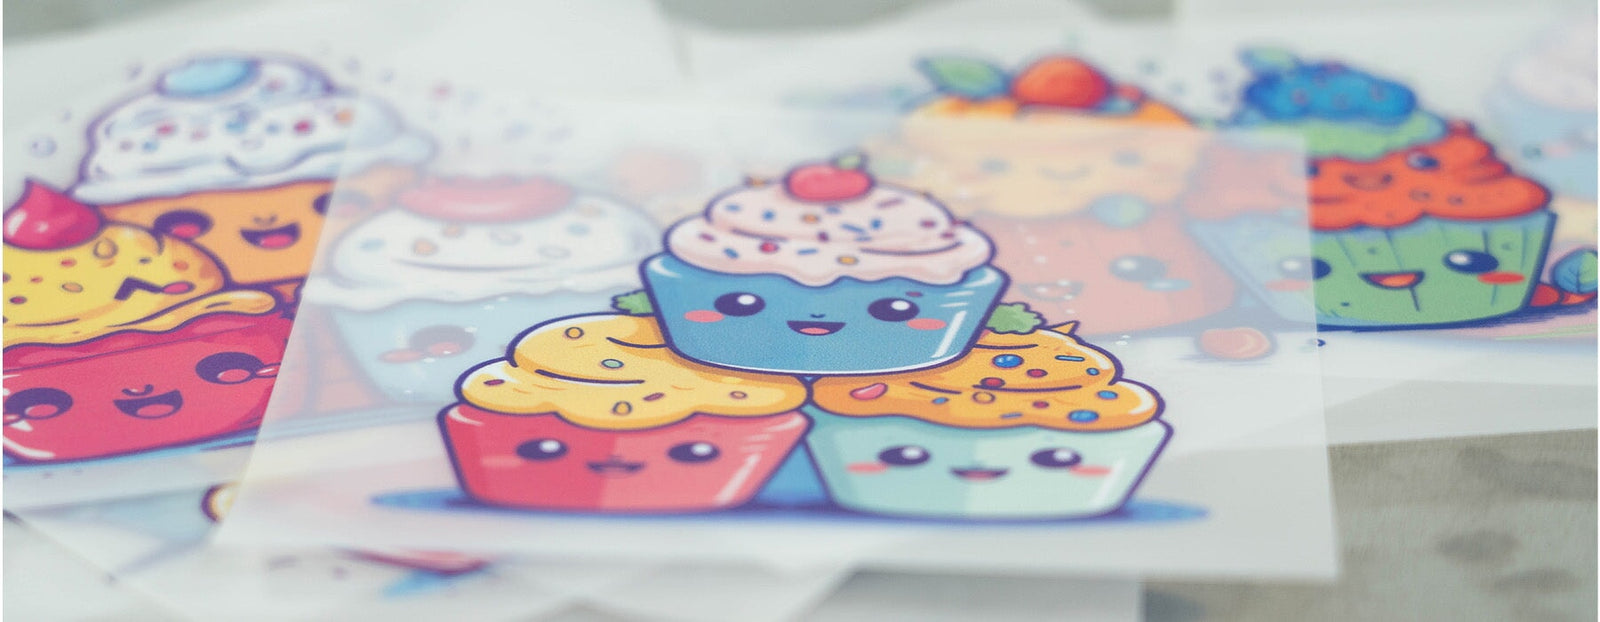
Hey screen printing enthusiasts! Today, we’re diving into a cool method for cutting DTF gang sheets (Direct to Film) on the xTool P2 laser. If you’ve been looking for a way to streamline your workflow, this guide will walk you through the steps to make those cuts sharp and precise. So, let’s jump right in!
WHY DTF GANG SHEETS?
First, let’s talk gang sheets. A DTF gang sheet lets you print multiple designs on one sheet, saving time and material. But getting clean cuts on these sheets can be tricky, especially when they shift during the process. That’s where the xTool P2 laser comes in.
RELATED: HOW TO ORDER NINJA DIRECT FILM TRANSFERS BY USING THE GANG SHEET UPLOADER
PREPPING THE GANG SHEET ON THE XTOOL P2
1. Place the Gang Sheet Securely
Before anything else, you’ll want to ensure your DTF gang sheet is locked down in place. We recommend using coasters or any small, flat object to hold it down. This way, when the air assist kicks in, your sheet won’t shift around, which could ruin your cuts.

2. Check Your Artwork
Now, it’s time to prep your artwork. If you've already tested your settings off-camera (like I did with a blank DTF sheet), you’ll know what works best for your xTool P2. We found that using 20 power and 140 speed works perfectly, but feel free to test out a few settings to find your sweet spot.

3. Adjust the X-Axis
Once you’re ready to cut, make sure the X-axis is set to zero. This ensures that your design lines up with the edge of the cutting area. Keep an eye on your cutting space so your gang sheet doesn’t go beyond the laser's range. If it’s too long, using the conveyor option can help manage those oversized sheets.
CUTTING THE SHEET
4. Make Precise Cuts
To cut the sheet into individual transfers, create a series of lines for each design. Start by positioning the lines, ensuring they are all within the cutting area, and set the X-axis to zero for perfect alignment. we find that zooming in helps avoid cutting errors.
RELATED: TURN CUSTOM PRODUCTS INTO PROFITABLE BUSINESS
5. Copy and Paste for Speed
If you’re cutting the same design multiple times, a time-saving trick is to copy and paste the lines instead of adjusting each one individually. This keeps your settings intact and reduces the chances of making errors.
6. Score for Easy Separation
Instead of cutting all the way through, I like to score the DTF transfers. This creates perforations so you can easily tear them apart when needed, keeping everything intact until you're ready to press.
CLEAN AND READY TO TRANSFER
After running through the settings and cutting process, I checked my DTF gang sheet, and everything was perforated just right. Thanks to the xTool P2, it was super easy to handle, and the designs are ready to be transferred onto garments!

TIPS AND TRICKS
- Use Coasters: Seriously, those little coasters are a game-changer! They keep your sheet steady while cutting and even help you align your designs.
- Test Your Settings: Always test your settings on a blank sheet first to avoid wasting valuable materials.

